About a month ago, my mother in law sent us home with this chair she found at a garage sale and thought it would make a perfect "throne" for Alice once it had a makeover :) All it needed was some love, paint, and fabric to make it really suitable for a princess to grace it.
yellow crushed velvet had to go
batting ($6), high-gloss grey spray paint ($4), and a yard of new fabric ($5) = voilá!
these are your friends and you should invite them to the party
My Stanley Electric Stapler is my favorite power tool and I use it a lot. In college, my painting professor insisted we learn basic carpentry in order to build our own frames, and that was single handedly one of the most useful things I learned at Dana - even though I've modified my structure and technique considerably. Thanks, Dr. Heinrich! Once I started painting for real, I needed to cut my costs and frame and stretch my own canvases, which is why I picked up an electric staple gun. So much easier than tapping in nails or using a manual stapler. You need one. If you're a woman, I doubt your husband would protest to buying one if he doesn't already have it in his arsenal. Do yourself a favor and own it before you start any upholstery jobs.
And by no means am I an expert in re-upholstery, however, I've got a handful of simple projects under my belt and a reasonable brain. If you're the kind of person who reads instruction manuals, tutorials are great and abound on the web, but I'm more of a "figure-it-out-as-I-go" kind of gal and this is what worked for me.
First, I used my flat-head screwdriver to get the four screws out that were holding the seat in place.
Give it a good cleaning - it'll help the paint adhere.
I'm all about keeping things efficient, so I took the chair out and gave it a light first coat of paint so it could dry while I was working on the cushion.
At first I debated about just covering this with another layer without removing anything...for about 2 seconds. My babies are going to crawl all over this and who knows what's under there?! Commence Mission De-upholster.
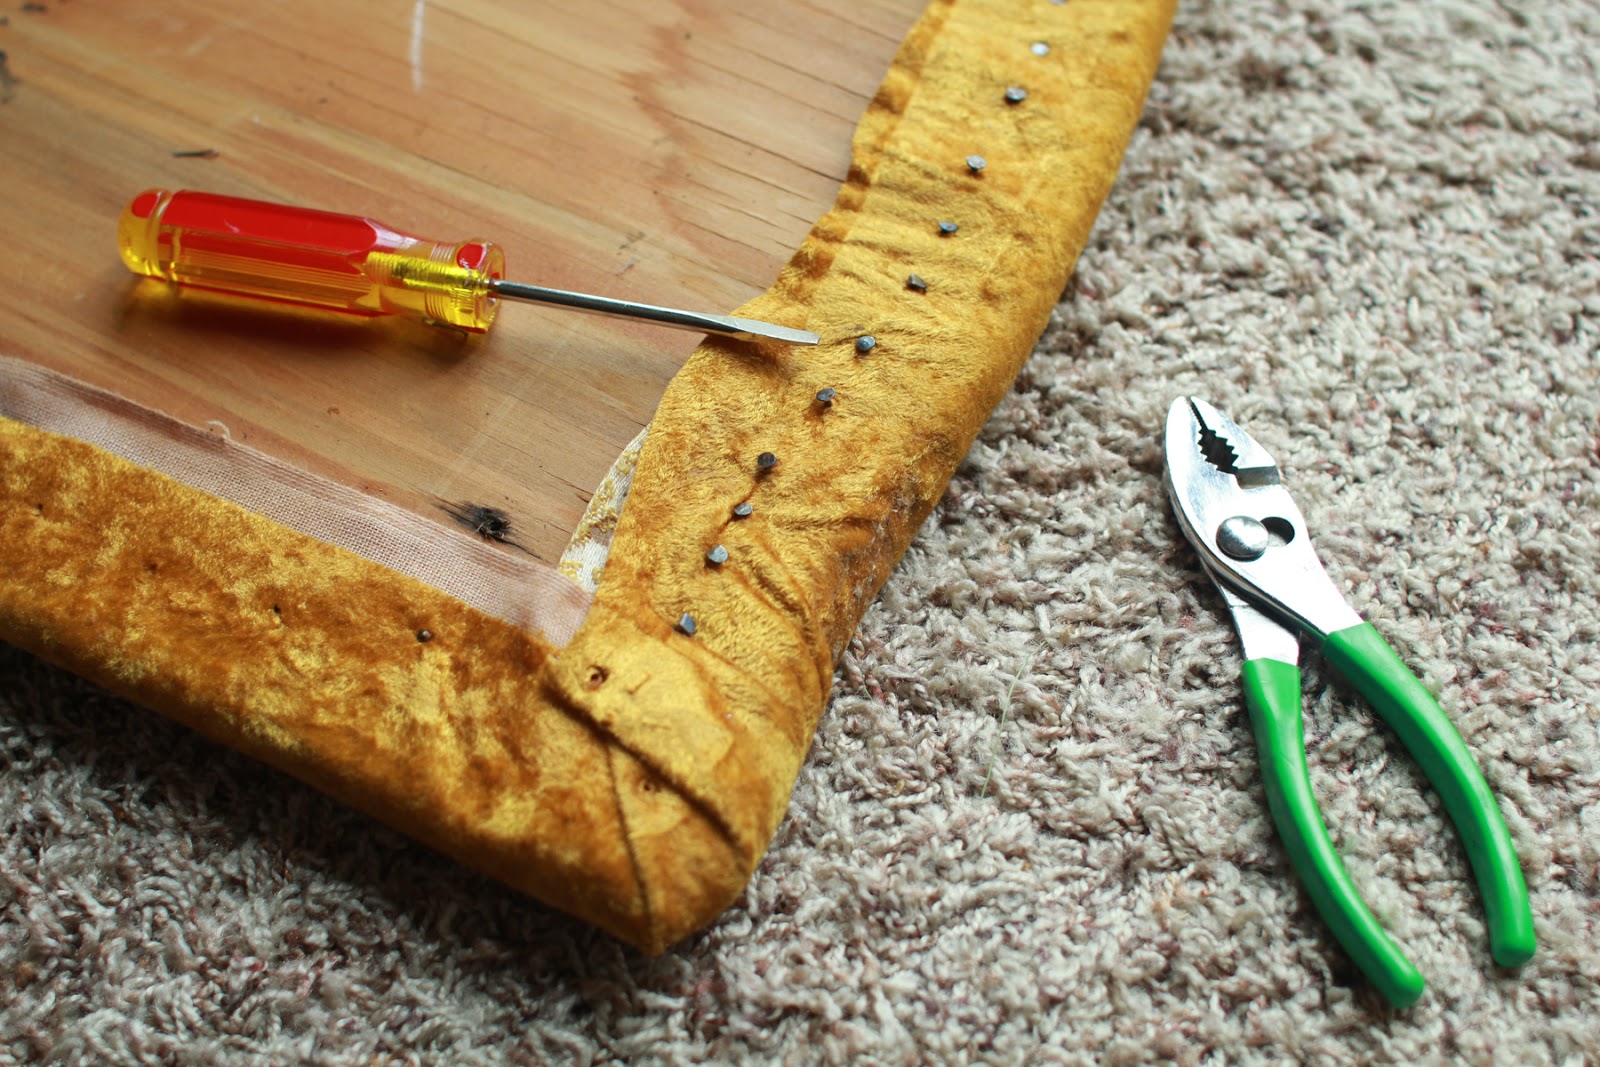
Had to pry the nails out with a screwdriver and then pull them with pliers.
Surprise! Two layers of retro, dry-rot nasty!! Added another 30 minutes of prying.
Finally finished pulling staples and nails. The padding underneath had practically disintegrated and the stains on layer number 2 were too gross to photograph. So glad I took them off to start over!
I cut 3 thick layers of batting to slightly hang over edge and then one thin layer to wrap - I wanted it to be nice and cushy.
Using the staple gun, I start in the middle of each side, gently pulling the batting taut, and then staple once to secure. Once I staple the middle, I rotate to the opposite side and do the same and then the other two opposites. After having one in the middle on each side you can work your way out from the middle to the right and to the left, always working the opposite so as not to pull too tight on any one side before securing the other. This is also how to stretch a canvas - I figured the same rules applied.
It might look a little lumpy but once you stretch your fabric over it, it'll smooth out.
Cut fabric to wrap around 1-2 inches.
Same rules as before with the batting - establish the center of each side and work out from there
p.s. that little strip of fabric became Alice's new headband, which she requested herself ("Mama make me a headband?") - see below
girl's got style
thanks, Aunt Sarah, for those glasses! and she named her pink puppy "Lucy" :) she takes Lucy on lots of walks
A little extra attention goes into wrapping the corners to make them pretty
Ta-da!
One more light coat of spray paint and some air time and this chair was ready to reassemble!
Princess Alice on her new throne, wearing her new crown, dispensing courtly commands. I mean, reading a book.
I'd say it's a hit!
Not too shabby for $15 and 3 hours of work.
Thanks, Grandma Linda, for thinking of Alice! I foresee many happy hours of playtime in our future.


No comments:
Post a Comment