Five years ago when I was trying to make something of myself as a painter, I created a 15-piece collection for a dealer in Omaha. The ordeal was more trouble and drama than I anticipated it would be, but I learned loads of practical things along the way that I'm grateful for and want to share. One of the best was how to keep costs down while still creating high-quality frames. While Blick's pre-stretched and primed canvases are usually on sale (especially if you buy lots of them), they are still not very cost-effective when that ends up being 1/2 of what your final piece is worth. And I paint big - like, 4x6 foot and under. I can't afford to shell out $200+ for a canvas, so I learned how to build my own.
My dad and I came up with a construction process in his shop. This is where it's handy to either a. have tools, or b. (and even more preferable) have a dad who owns all tools and knows how to use them. From him, I inherited a penchant and passion for making things, so it was naturally a hoot getting to build together, having some quality father-daughter time in the process. Now that I'm not creating entire collections, I usually just put in my order and he whips it up for me and delivers it to my studio. I sure do love this guy.
We use 1.5"x1.5" pine boards, biscuits, wood glue, staples, and nails. Once we sorted the good boards (no bending or large knots), we cut them to our dimensions with a miter saw, used a biscuit cutter on each of the mitered edges, lined the inserts with wood glue, secured them together with the biscuits, and then stapled the backs of the joints. For the larger pieces, we also ran cross-bars and notched them out and to the back so they wouldn't touch the canvas once I stretched it. Average total cost to build a frame: $10.
To stretch a canvas is the real tutorial I can provide. And do you know what I use? Painter's canvas drop cloth. Depending on how much you need, you can buy a variety of dimensions at your local home improvement or painting store (e.g. this dropcloth). This stuff is durable, good quality, and once primed is just as good as the canvas rolls from the art store that are considerably more expensive. And you can get so many canvases out of the deal!
when I make a lot at once, I just lay them all out, cut around each, and then stretch them
ta-da!
Now here is a play-by-play for stretching and what you need to do it:
Dropcloth, staple gun, staples, scissors (not pictured: hammer and pliers for seating staples and/or pulling them out)
this 4x6 foot beauty was custom-built by my dad
cross-bars inset to provide stability without hitting the canvas
lay out the frame on the cloth and give a 4 inch border for wrapping
cut
keep your leftovers for another day
Don't even think about ironing! Once you start stretching, the wrinkles smooth out on their own, and any fine lines left over disappear once you prime it. You're welcome :)
Start stapling from the center of each beam on out. I put in 3 staples per center, then do the opposite side and then do the other two opposites for a nice, even stretch.
working down the sides a few at a time, pull and staple
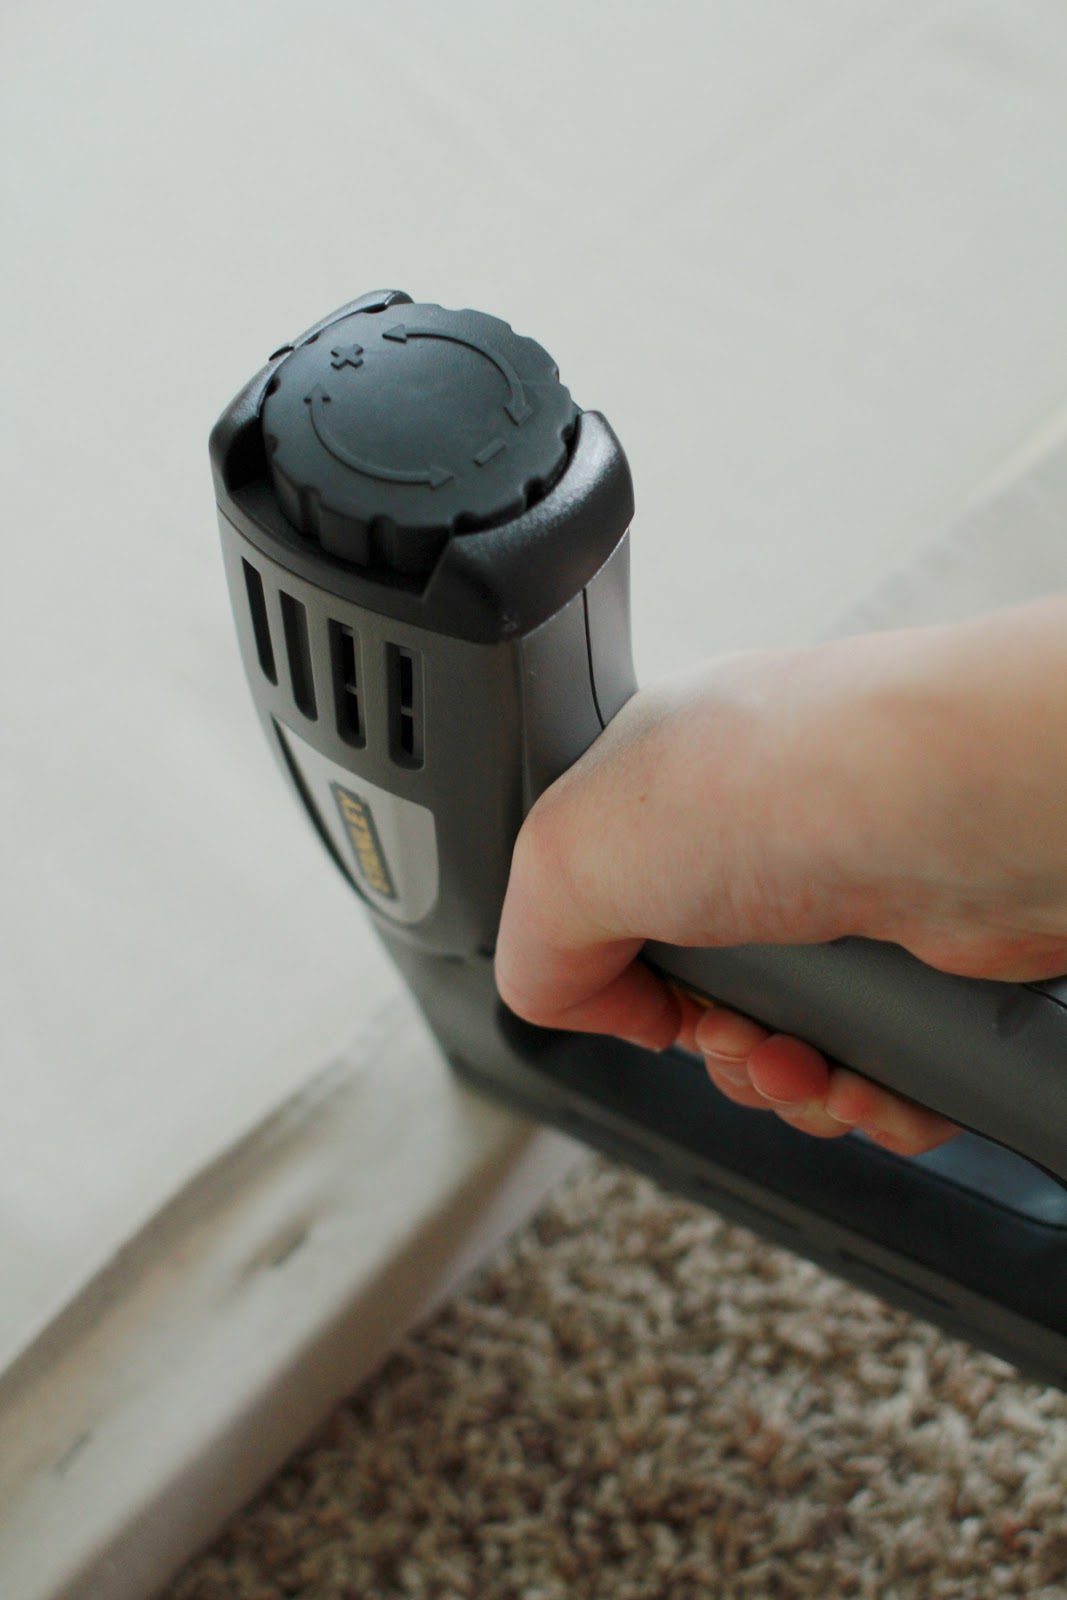
I could write an ode to this little power tool. Get one if you don't already have one.
slowly work your way out to the corners
From here, determine which sides you want to lay totally flat, and which ones will carry the slight bulge of extra fabric. It's unavoidable but not very noticeable when done well.
cut out excess canvas to diminish the amount wrapped
I wrap everything to the back and staple to avoid the need for an additional finishing frame
ta-da! Just make sure to keep it consistent all the way around so you don't end up pin-wheeling the corners
finished
had to take this photo from the side because even my wide-angle lens couldn't capture the whole thing head on!
after stretching, you're ready to prime!
I use Blick Professional Artist's Gesso and a gallon and a half has seen be through 34 canvases (some 4x6, the rest smaller)
I love applying it with this rounded Mega brush
All finished
(Com)Mission Complete :)
It was a fun mixed-media abstract for the Mruz family who wanted to infuse a polish ancestry element to it (pages from a Polish-English dictionary and the Polish crest) and use lots of moody darks and lights and coppery-bronzes.
first layer of papers
slowly layer paint over papers
pages peaking through
Polish crest on mulberry paper - perhaps my all-time favorite paper to use
Boy, mixed media is fun!
And Tina, if you read this, I don't know if you found it, but there is a note from me tucked behind the bottom left-hand corner for your family to pass down :)
So there you have it, ladies and gents: how to stretch a canvas and build it for less. Total cost for each averages $15 with frame supplies, canvas, and gesso. Not too shabby for a starving artist, not to mention, everything - including the carpentry - is done by you.
Farm to table, wood to wall.
Truly artisanal.
Happy building and happy painting!


No comments:
Post a Comment